Hey you, spade face! Do you have a face that’s all big like a spade and you would like to know how to get it to look less like a spade and more like a face? Well lucky you, you’re in the right place!
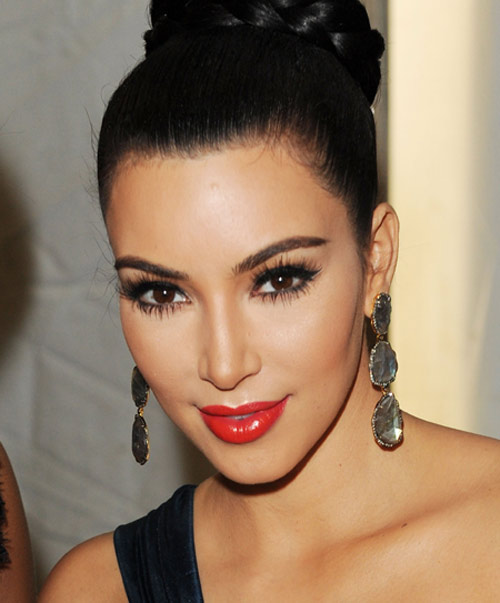
‘Contouring’ has without doubt been the buzz word of the makeup industry for a couple of years now. Made famous by that chiseled lunatic Kim Kardashian, contouring is the art of creating shadows and highlights to make your face look like someone else’s the best it can.
I’ve trawled through endless tutorials on contouring and now have a routine I’m fairly happy with. I’m by no means a pro (I don’t even have my own reality show OR a rapper boyfriend yet so I’m obviously no good at all really) and everything I do is just an amalgamation of other tutorials, so I’m not really going to be saying anything revolutionary. But if, like me, you find yourself a bit lost in some of the more complex contouring guides out there (and end up shouting “But I don’t own any Ben Nye Banana Powder!” furiously at the screen) then you may find something in this beginners’ guide useful.
What Products Do You Need for Contouring?
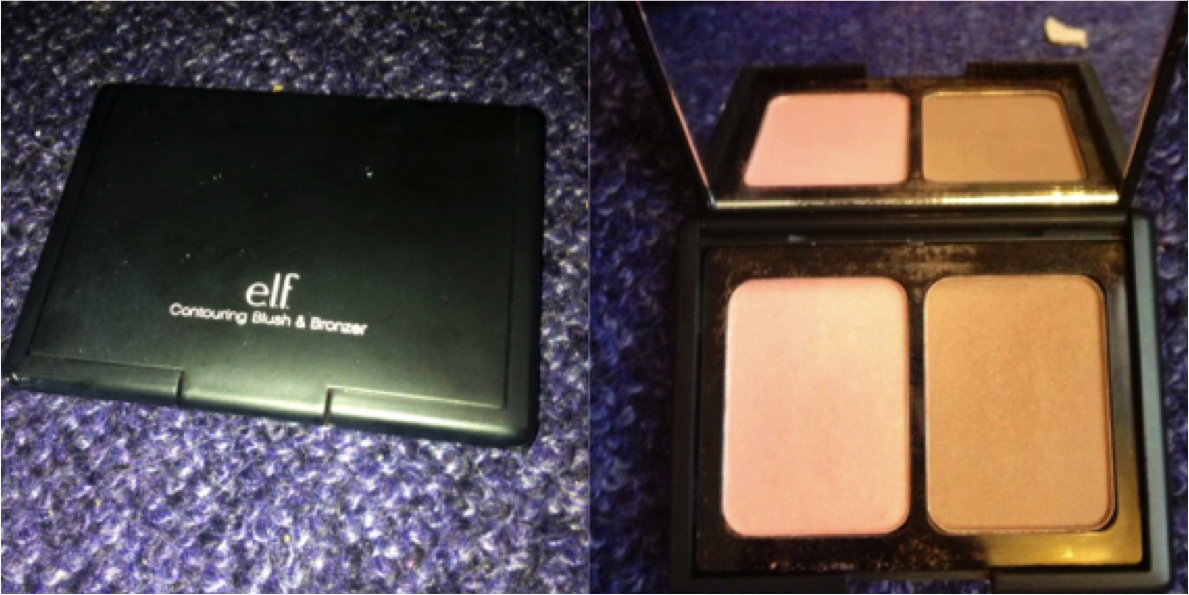
I’d say that all you essentially need for contouring is a bronzer that is several shades darker than your base and a highlighter that is several shades lighter. The greater the difference in these shades, the more prominent the contrast will be. I’ve tried powdered bronzers and highlighters before, but found that cream ones work best for me as they’re much more blendable. I’m currently using two Seventeen products: the Instant Glow Cream Bronzer (there’s only one shade I believe) and the Stay Time 18 Hour concealer in Extra Fair. The key is for both of these products to be matte – you don’t want glitter all over the place or you’ll look like a discoball.
For blending, I use either my buffing brush or my Real Teachniques Beauty Blender. Both work really well, so as long as you know you have a tool that’s good for blending then you should be fine.
Where To Apply Products for Contouring
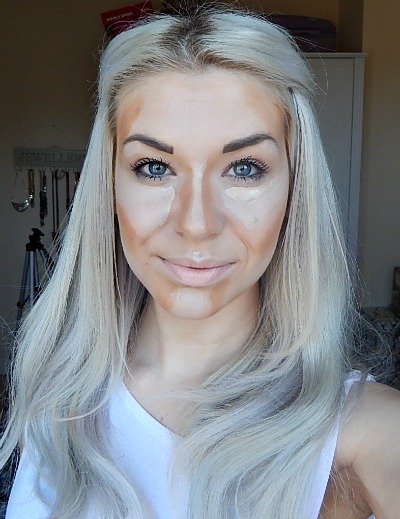
After applying my base as usual, I then shadow and highlight in these areas:
When I initially ventured into the world of contouring, I thought it was just about the cheekbones – bronzer below and highlighter on the bone. However you can basically shadow and highlight just about your entire face. Underneath the cheekbones, down the jawline, down the sides of your nose, on your temples and even a bit around the chin can all be made into shadows.
You can then highlight across the cheekbones and underneath the eyes (aim for a triangle shape), down the nose, on the cupids’ bow, your chin, your forehead, the archs of your eyebrows and the bit of cheek between the jaw and cheekbone. Once this is all blended in, the effect should be subtle – you shouldn’t notice any harsh lines whatsoever.
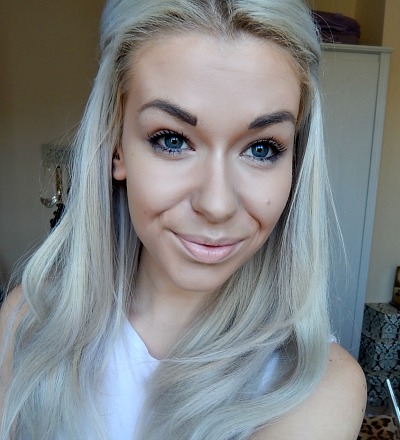 And here are the results. As you can see it’s nothing extraordinary, but I do feel significantly less like a spade once I’ve contoured.
An optional extra step here is to add more highlighter onto certain areas, namely the top of the cheekbones, a bit on the bridge of the nose and the cupids’ bow. For this step, you can use more of a shimmery highlighter (I use Seventeen’s Wow! Skin 3 Way Highlighter), though be sure not to place it anywhere where it can be mistaken for oil/sweat – sweaty upper lips are so not Kim K.
What do you all think of contouring? Are you a pro or new to the whole thing? Share your tips below!
|| Don’t forget that you can follow us on Instagram, Bloglovin’ and Twitter! ||

I need to give this a go, seen loads of tutorials on Pinterest
Lauren
livinginaboxx
Definitely give it a try! There are some great variations out there so you’re bound to find one that suits your face shape 🙂 xx
Fab post as always lovely! You look great and this is so helpful! xx
Jenn | PhotoJennic
x
Ahh thank you Jenn, so glad you found it useful! xx
This is amazing! I also go online looking for these types of tutorials! Very helpful! xo
Brilliant, glad you found it useful 🙂 I’ve got loads of them saved on my phone and everything haha! xx
I am so glad you have posted about contouring I have attempted an failed many times but I think I have been doing it wrong! I think i’ll give it another go after this post 🙂
Thanks girls!
xxx
Haha I was exactly the same! I think there are quite a few different ways of doing it and it’s about finding which one works for your face shape/makeup routine the best. This is the method that I’ve found works for me so maybe it will for you too! Let me know how you get on 🙂 xx
I love this post you girls are always so funny and informative! I really do like contouring though it’s so amazing and you look gorgeous! xx
Aw thank you so much for saying that – generally I worry the only thing we can inform people on is how to be idiots 😉 Glad you enjoyed the post, thanks for reading! xx
This is great! What brush did you use to blend?
Hayley 🙂
I have a really cheap buffing brush from eBay (which is a bit of a Real Techniques dupe/rip off that I just bought as an experiment but actually is great! Similar ones are here), or I use my Real Techniques Beauty Blender – both work well for me 🙂 xx
Thanks! Just bought a load from the link you gave me 🙂 xx
Ooh great, I have the stippling brush and angled brush from one of those sets too 🙂 I’m really impressed with the quality, so hope you are too! xx
Very helpful post! always tried contouring with powder but might have to try it out with cream products instead, cuz girl your face looks flawless!
Xx Agnes | AgnesLowerot
So glad you found it useful! xx