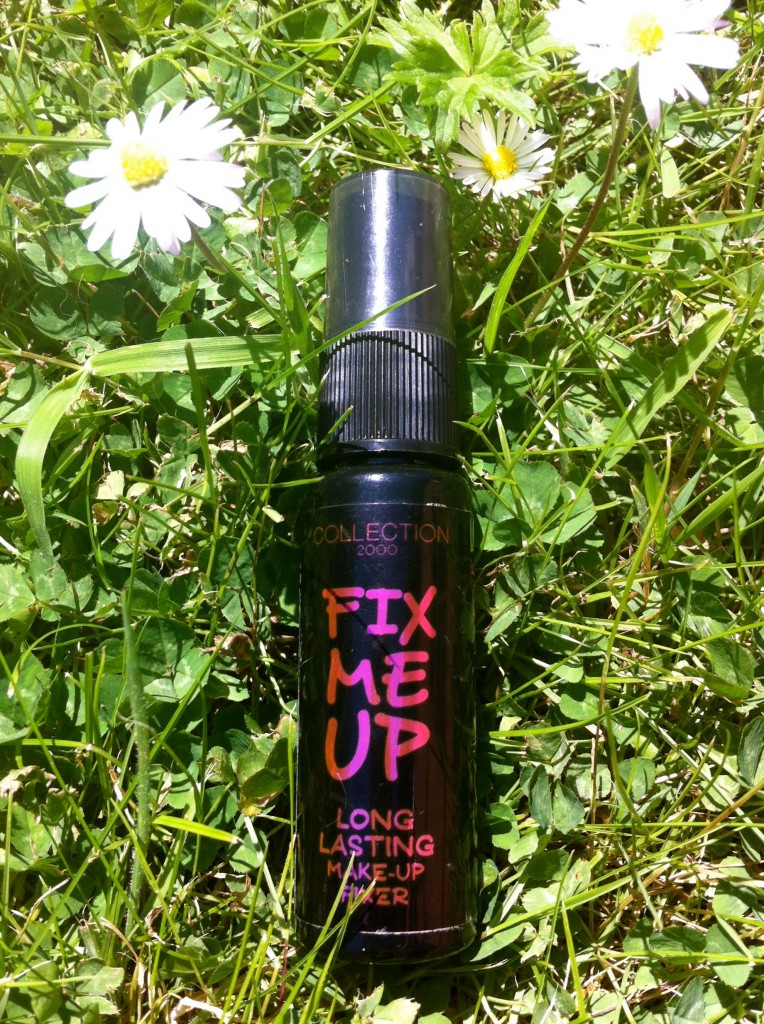
Collection 2000 ‘Fix Me Up’ Makeup Setting Spray Review.

IMG_1544

If you follow us on Twitter or Instagram, you may have seen me get over excited about the fact that Collection have a makeup setting spray for around £5. I believe it was launched towards the end of last year, but the first time I saw it in-store was about a month or two ago – I’m not sure if this was me being horribly unobservant or if it hadn’t been stocked in Birmingham until then! I got it from Boots, if anyone is at all interested.

I think Claire and I have garnered ourselves a bit of a reputation for being bargain hunters (though I think in reality, we are just cheap and driven by poverty paha), so I’m always on the hunt for cheap-yet-quality makeup products. As far as setting sprays go, I’m a bit of a novice (hairspray on the face, anyone?). After doing a bit of research, I gather that there aren’t a huge number of fixing sprays on the market. Urban Decay do one called ‘All Nighter’ for £19, which generally has rave reviews – as does the Clarins Fix’ Makeup spray, which will set you back £18.50. I’ve heard conflicting things about the Mac Fix+ (£11) product, which teeter between rave reviews and confusion as to whether it actually is a setting spray or not (some say it’s more of a brightener?). Armed with this information, I still decided to invest in the Collection ‘Fix Me Up’ setting mist because it was one of the cheaper versions, and I’m generally a fan of their makeup products.

Unfortunately, this one didn’t quite deliver. Claire and I have this strange compulsion to like products and feel extremely disappointed if they aren’t really what we wanted. This is mainly why I was so sad that the Collection setting spray wasn’t great – and there are quite a few reasons why it just is a bit crap. I thought I’d set them out in list form because who doesn’t love a list, quite frankly?! (probably people with list phobias).

1. IT’S FALSE ECONOMY. For £5.99, you only get 18ml. I’m sure there’s a way of working out the maths but I am genuinely useless at that sort of behavior. Let’s just say that you may as well get the 118ml Urban Decay spray for £19.

2. It’s a bit damp. The packaging describes it as being a “weightless mist” but to the packaging I say “WHAAAAAAAAAAAAAT, have you gone mad.” I think the problem is the spray nozzle – it kind of comes out in squirts and doesn’t cover your whole face brilliantly (I’m sorry for how wrong this sounds). It just leaves you feeling a bit soggy and rained on.

3. The product doesn’t actually do very much. This probably should be at the top of the list but hey ho, I’m a maverick. I wouldn’t say I noticed a huge difference in my makeup staying on. For a girl who is genuinely a disco ball without powder, I was really disappointed. The setting spray didn’t deliver really and to that I say GOOD DAY SIR.

So, not a great review of Collection 2000’s ‘Fix Me Up’ makeup fixer. I would say that I don’t hate the fragrance as much as other bloggers seem to – it does smell a bit cheap but I quite like it! Other than that, I don’t really have anything good to say. Sorry Collection, but you have let me down on this occasion. The hunt for a good setting spray continues – I think I’m going to give the Ubran Decay ‘All Nighter’ setting spray a go after pay day and see how that treats my sheeny shiny face. After that…WHO KNOWS?!

Any of you lovely ladies have any other recommendations?

E.l.f. Contouring Kit: Review

Contour 1

I’ve mentioned a few times in this blog how one of the main beauty techniques I’m interested in developing my skills in is contouring. I dabbled in it a bit, just by using my bronzer and blusher but was keen to see what else could be done. So as part of our E.l.f haul last week, I couldn’t resist trying out their contouring kit. For under £4, how could I say no?

I chose the ‘St Lucia’ shade, which I think is the lightest shade in the range – but I was a bit worried about the bronzer being too light on days that I’ve fake tanned and am sporting a touch of Orangeface (which is a technical term, just in case you were wondering). What I didn’t like about the look of this kit in comparison to ones from other companies like Sleek was the fact that it’s more of a bronzer-blusher duo as opposed to a bronzer-highlighter. I did wonder whether it would look any different to what I currently do, so also ordered a highlighter with the intention of maybe incorporating that too.

Contour Collage 1

Contour Spotlight CollageContouring Kit / ‘Spotlight’ Colour Stick

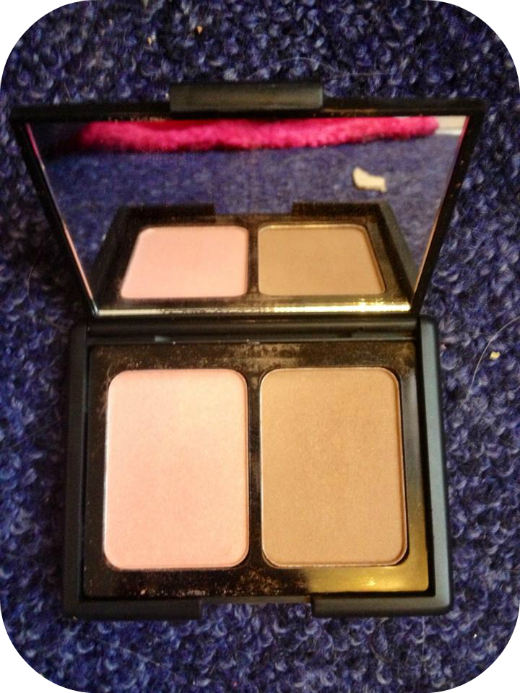
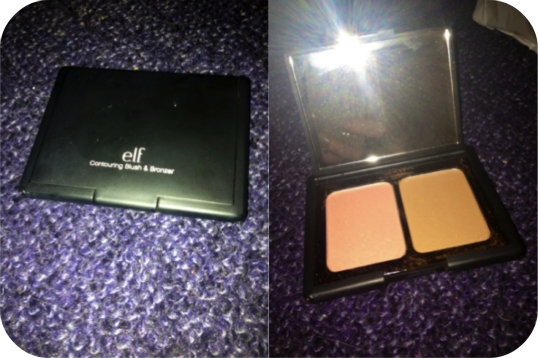
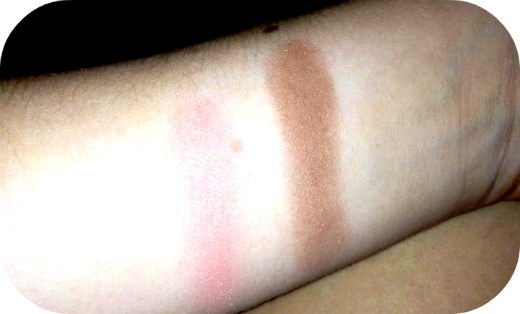
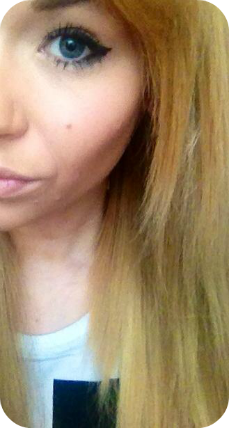
So, what do I make of it? The contouring kit itself is good quality. I like the packaging, and the mirror inside the compact is a nice touch .I needn’t have worried about it being too light, the bronzer is quite dark. The colours are really pigmented too, particularly in the bronzer.  This means that less is definitely more – the first time I applied it, I ended up with way too much product and looked like I was trying to do army camo down my cheeks. Less Kardashian, more Rambo. Mistake.

Contour Swatch

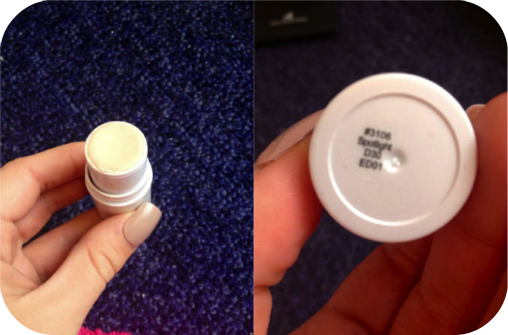
The blush is a bit less intense and once I applied it I was left feeling a bit like it didn’t add a great deal to the look. So this is where the highlighter came into play. I applied this across the top of my cheekbones and it had a much better effect with the bronzer. I actually ended up being quite in love with this product and might do a full post on how to use it once I’ve mastered the art myself.

The contouring kit IS good, but like I said – it wasn’t a huge difference to what I was already achieving myself with my bronzer and blusher. So it’s a nice product if you’re new to contouring, but not one that’s really going to change your life (some people might say no makeup product can change your life; to these idiots I say ‘SHUT UP, YOUR PRIORITIES ARE WRONG AND YOUR PARENTS DON’T LOVE YOU’)

Contour Face 1


Have you tried this product? What are your fave contouring kits?

Cheap Makeup: Is It Really That Bad?

Pretty much every beauty blogger and makeup aficionado will concede that for the most part, the more money you spend on a product, the better it is. As avid readers of beauty blogs, Claire and I often cry with jealousy over Mac makeup hauls, Illamasqua purchases and Bobbi Brown buys. While we have to confess that on occasion, one of us will splash out on something a bit fancy (see Claire’s Benefit ‘They’re Real’ Mascara Review), most of the time we simply can’t afford to. Our budgets don’t really stretch to spending £30+ on makeup when we run out and of course, things like paying for rent, water and (regrettably) food have to take priority. That definitely doesn’t mean we don’t want to and we’re not begrudging y’all who do (although we hate you and your beautifully made up faces), it’s just not something we do on a regular basis.

With all of this in mind, we have become quite the experts on cheap makeup. Over our makeup wearing years, both of us have tried pretty much every budget to mid-range makeup product on the high street. I get particularly excited and a bit over enthusiastic about trying new products, even if it is something a bit pathetic from MUA or Rimmel. There can be a lot of negative buzz around cheaper brands but I think there’s hope yet. Cheap makeup doesn’t have to bring back horrible memories of slathering your eyelids in baby blue eyeshadow from Miss Sporty. I am of the opinion that there are some absolute gems on the high street and there are a lot of cheap makeup products that you simply can’t ignore. So, with all of this waffle in mind (I just can’t get to the point can I?!), here are my five best cheap makeup products that have been tried and tested.

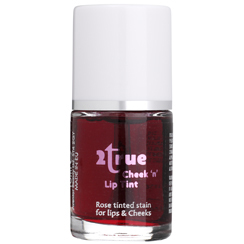
2True Cheek ‘n’ Lip Tint, £1.99

Any makeup brand that is called 2True should in theory have the face rash alarm bells ringing. Also, a product that is actually £1.99 probably sounds too good to be true (there was a pun in there, I missed it. I am sorry). ALAS MY DEAR FRIENDS, this is actually a great Benetint dupe and the only criticism I have is that it is slightly runnier than its £25 counterpart. The colour actually lasted longer for me and I generally just prefer it. Did I mention it is £1.99…?

472409_l

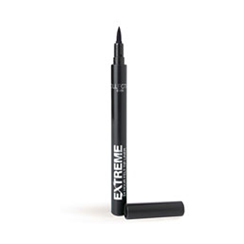
Collection 2000 Extreme 24h Felt Tip Eyeliner, £2.99

As a big believer in winged liquid eyeliner (I am Cleopatra), I’ve always been on the hunt for the perfect liquid eyeliner. I’ve dabbled in Barry M, Rimmel and lots of others but this Collection 2000 beauty is at the top of my must-have cheap makeup list. It lasts for AGES (probably 24 hours, I haven’t quite tested it for that long) and it is mega easy to apply. Even Claire gets on with it and her face likes to reject liquid eyeliners.

224869_l

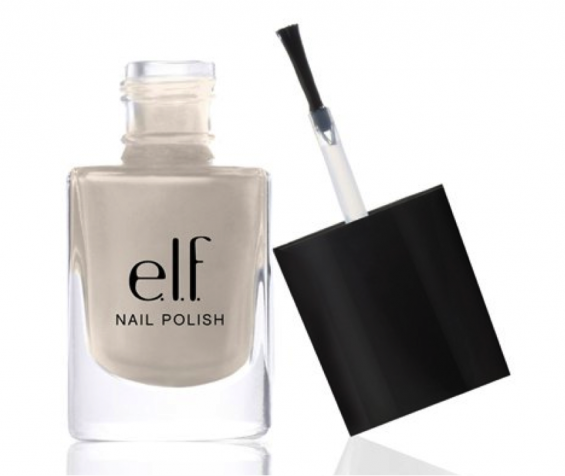
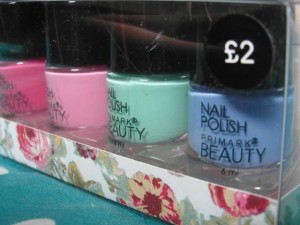
Primark Nail Varnish, £2 for four.

These have been hyped quite a lot on beauty blogs recently and it’s no surprise really. They’re SUPER cheap (my maths brain works it out to 50p per pot and to this I say WHAAAAAAAAT?!), they last well and they have a great colour range. What more could you want, you needy human beings?!

primark-beauty-nail-polish-L-7r3OAR


Image Source

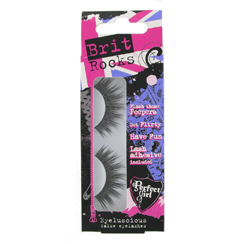
Perfect Girl Natural Flirt False Eyelashes, £3.99

These are my go-to lashes. Claire and I love false eyelashes for nights out and I personally couldn’t go out without a pair flapping away around my eyeballs. I used to be a firm Eylure purchaser, but it started to get a bit pricey at £5 per pair. I then went full circle and bought 60 pairs for £7 on eBay and I have now settled on these. They’re big, volumous and just look great. I would say that the glue is a bit crap so you may want to just buy a big pot of decent glue to stick these bad boys on.

901678_l

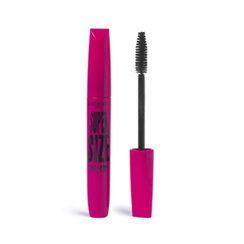
Collection 2000 Supersize Mascara, £2.99

I’ll have to pop a disclaimer in over here. Mascara isn’t my forte and I know a lot of people (like Claire) are really picky with what they use. I have blonde eyelashes that have quite a good natural curl, so I am mostly bothered about getting some black colour onto them more than anything else. Saying that, I have tried a lot of the more expensive brands (of which Dior’s DiorShow has been THE WORST) and I will keep coming back to this Collection one. It does the job and I’m happy with it. It’s not too clumpy (though I weirdly quite like clumps) and it stays on well. Definitely worth the £2.99 I’d say!

274192_l

So, is cheap makeup really that bad? I’d firmly say no. While there are some things you should spent a little more money on (like foundation and prostitutes), there are a lot of other products you can get away with scrimping on. So the next time you whip out your credit card for a hefty Mac  haul, think for a moment whether you can pop to Superdrug and find a decent alternative (and then spend your saved money on tequila).

My Wild Sunday Face of the Day

This week has been a bit manic for Claire and I. From an epic Ikea shop (is it appropriate to do an Ikea haul post??) to having lots of big jobs to do at work, I’ve not had a huge amount of time to do my face properly. Claire did an Everyday Makeup post (it’s really fascinating I’ve heard) a few weeks ago and that pretty much sums up my makeup during the week too. A quick bit of foundation, powder, blusher and mascara and I’m done. We get up at 6am during the week and leave the house at 7, so it doesn’t leave a huge amount of time to be faffing with foundation brushes, contouring and any sort of blending hoo-hah.

ANYWAY I DIGRESS. I woke up ridiculously early this morning (tried to get up at 4 and got a stern “If you get up now I will punch you in the tit” in return. Bit rude) so decided to get up at 7ish, fix up my face and spend AGES doing it. Yes. Hello stippling brush, it’s been a while. Missed you.

Most people who know me will agree that I’m a big fan of shoving a huge amount of makeup on my face. I don’t feel like this is a problem and I definitely don’t follow the general rule of “if you’ve got lots of eye makeup on, then go for a nude lip.” With this in mind, my Sunday face of the day might be a bit much for you lucky gals who can pop a bit of tinted moisturiser on and look all fresh faced and lovely (DARN YOU ALL TO HELL). But ya know, it’s Sunday and I have tomorrow off work, so I figured it was the best time to be a bit jazzy and have a great face.

979619_10152223471837565_1855956151_n

974901_10152223471882565_1755977055_n

961845_10152223473362565_251929144_n


The general process goes as follows:

  • Moisturise. I’m using a cheap moisturiser from Tesco’s new range of skincare. It’s not the best thing I’ve used and is a bit heavy for my oily/combination skin. I’ve nearly finished using it now so will be on the hunt for a better one soon. My standard used to be Olay and I do love their moisturisers, so there is a good chance I will just go back to that!
  • Stipple on my foundation. My favourite foundation for the past few years has been Rimmel’s 25 Hour Lasting Finish foundation. It’s a heavy coverage, oil based liquid foundation and not for everyone, but I love it. It goes on smoothly and has been one of the best heavy coverage liquid foundations I’ve used (I think it’s quite a good replacement for Mac’s Studio Sculpt). The shade I used is 303 in True Nude, which is quite orange but I’m also usually quite orange so it works.
  • Stippled on concealer. I use concealer under my eyes (where did these dark circles come from) and on whatever blemishes I have. I’m using a TERRIBLE stick concealer from Collection 2000 and I don’t recommend it at all, but it’s better than nothing. My usual fave is their Illuminating Touch liquid concealer, it’s amazing. I stipple using the Real Techniques stippling brush.
  • Puff on powder. I’ve used a big range of powders in my wise and fulfilled years of makeup wear and I will keep coming back to the £2.99 Collection compressed powder. It does what it says on the tin, smells nice and goes on really well. What more could you want really? I’m using it in the shade Tender Touch 02 at the moment.
  • Contour. For nights out, I’ll go the whole hog and contour everything on my face, although I tend to prefer doing this by using two different colours of foundation. I’ll then do a very light bit of shading on my nose, forehead, cheekbones and chin. For daywear, I just do a bit of shading on my cheekbones. I have a bit of a strange process, but I mix face powder with a dark brown eyeshadow – it’s the perfect colour for those of us who have orange faces (…when bronzer doesn’t show up, sob). I used a Look Statement Eyes shadow and my trusty Collection powder.
  • Blush. I tend to use whatever blusher I find knocking around in my makeup bag. I usually buy the exact same shades of warm pink so I’m pretty non-adventurous in this respect. Today I used a Seventeen blusher pot.
  • Eyebrows. Read my eyebrow post here, but I use the Sleek Brow Kit in dark.
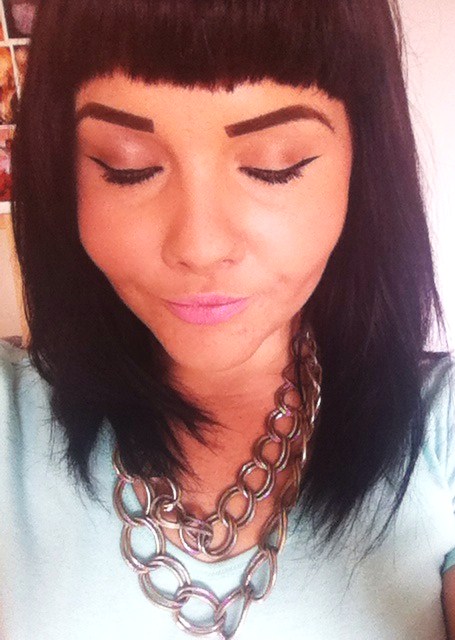
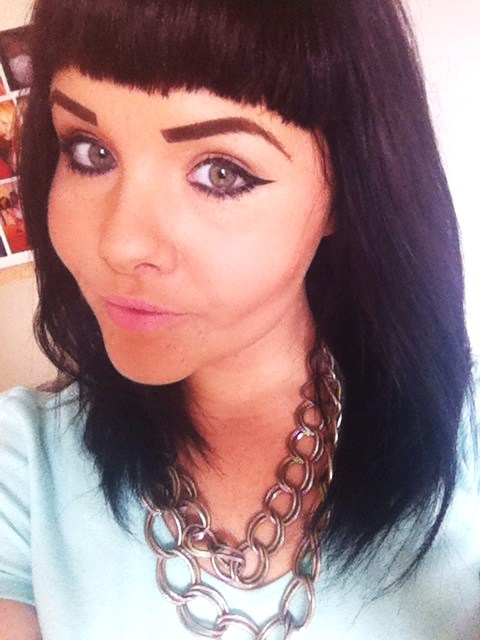
  • Eyeshadow. I like neutral colours for eyeshadows so use a combination of tans and light browns with a highlighter on my browbone. I used a well-used and nearly finished Rimmel palette today.
  • Eyeliner. I use liquid and pencil. Pencil on my water line and then a winged liquid eyeliner on my lid.
  • Mascara. I’m not too fussy when it comes to mascara because my eyelashes are blonde. Anything that goes on black and makes me look less like a baldy is fine by me. Claire is more of the mascara expert, so read her post about her quest for the perfect mascara here! I used a Collection 2000 one in black/brown today!
  • Lips. I popped on one of my new MUA lipsticks, which I reviewed over here. I used the light pink shade in an attempt to look less like a prostitute.

973761_10152223472552565_383806836_n

And there you have it. My Sunday FOTD. Now I just need something to do today and ignore the fact it’s 9am and I have a full face of makeup. Hmm.

P.s. You might have seen on Twitter that me and Claire are in the process of kitting out our front room as a work space/blogging area (which is marginally better than the Gym Disco room we had initially planned..). This is our new desk area, which I LOVE. What do you all think??

986623_10152223473407565_110886511_n

MUA Lipsticks: Review

I love a bargain. In fact it gets a bit embarrassing; particularly when I say “Hahaha I am so cheap” and no one contradicts me (a nice “no you’re not, don’t be silly” wouldn’t go amiss, guys). So, I got a bit excited when I was doing my weekly Superdrug/Boots browse a few weeks ago and spotted a 3 for 2 on all MUA makeup. I’ve never actually bought anything from MUA (which ambiguously stands for makeup academy…right), mostly because I tend to stick to mid-range stuff. I’m not a big makeup snob, but I do think you can tell the difference between cheaper stuff and makeup you’ve spent a bit more money on. View Full Post

Sleek Brow Kit: Review

We are in the year of the Strong Brow. Some might say that Cara Delevinge made the look popular but ever since discovering Erin O’Conner, I’ve had a big and inappropriate crush on striking eyebrows. Thankfully, gone are the horrible high school days of plucking brows so thin that we all looked permanently surprise and/or terrified. We can now draw our eyebrows on with gay abandon and look super trendy and cool while doing it.

Screen Shot 2013-05-21 at 12.46.56

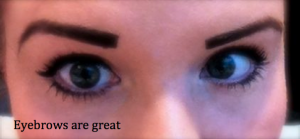
I feel like I can now claim the title of professional eyebrow artist. I’ve been drawing my brows on for a few years now and have dabbled in pretty much every method available. For those of you who are lucky enough to see me without makeup on, you will know that I look like a strange albino Lord Voldemort without my trusty eyebrows, so I do my best to rectify the situation. As a secret ginger, my eyelash and eyebrow hair is really, really pale and you cant really see it at all from afar/in pictures. Things were ok when I used to have blonde hair, but it’s all a bit of a mess now that I have migrated to the dark side. Good eyebrows are a necessity so I’ve put together a little ‘how to’ with my favourite eyebrow product for those who have no eyebrows like me or who just want a bit more definition.

photo-1


For your entertainment, here is a picture of me without my eyebrows drawn on. Someone at work said “it wasn’t that bad” but they clearly couldn’t see the giant five head in front of them.

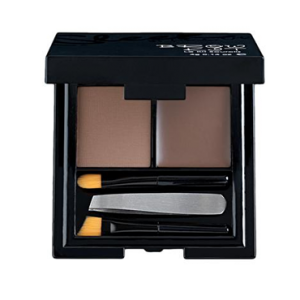
My absolute favourite eyebrow product is the eyebrow palette by Sleek. Sleek do loads of brilliant stuff, which tend to be the cheaper alternatives to Benefit products. The Brow Kit I use is the ‘Dark’ colour but they also come in ‘Light’, ‘Black’ and ‘Extra Dark’. I can’t stress how great the Sleek Brow Kit’s are. They come with little mini tweezers (which I unfortunately lost – but before I did, I gave them a whirl and they are good quality for a mini pair), an angled brush and a small powder brush. There are two products within the kit; an eyebrow wax and setting powder. The idea is to use these both in tandem to create perfect eyebrows.

sleek_brow_kit

To start with, I always use the kit after I’ve applied the rest of my makeup. I tend to follow the top and bottom line of my eyebrow and then use the flat side of the angled brush to fill them in. I then apply the setting powder (they recommend sparingly but I just whack loads on willy nilly) and my brows are done! It usually takes a couple of minutes, which is a lot quicker than when I used to use a pencil. The kits are also good for precision, which you don’t get as well with a pencil or eyebrow powder. That’s pretty much it really. The kit retails at £8.49 online but I think I got mine for about £8.00 in Superdrug.

What do you all think? Have you tried the Sleek Brow Kit?


MAC ‘Crème D’Nude’ Lipstick: Review

Right, so I’m aware that I’m about to make possibly one of the most shameful confessions that a beauty blogger can make, so I’ll blurt it out as quickly as possible:

ThisIsTheFirstMACLipstickIHaveOwned!

I know that this is very shocking news for the blog world, so I’ll try to explain myself. Firstly, I never used to be that into lipsticks on a day-to-day basis. Secondly, I prefer to stick to the same colour palette on my lips; as your standard blonde-hair-blue-eyes I think pale pinks and nudes have always worked best for me and so I just don’t get all that gaga over lipsticks.

However, one of my best friends got married a couple of weeks ago and I decided to invest in a decent lipstick for it. I wore a deep red maxi dress and so (surprise, surprise) decided I wanted a nude lipstick so as not to detract from the dress, and also so that I could wear my usual ridiculous false eyelashes with lashings of eyeliner. The lipstick needed to have staying power to last all day and night though, and also needed to be quite moisturizing as my lips have a tendency to get dry and so lipsticks can look cakey quite quickly.

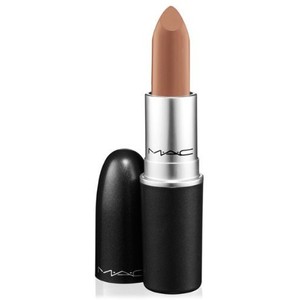
So after much research I decided a MAC lipstick was the best option for me, in the Crème D’Nude shade.

MACCremeDNude

MAC Crème D’Nude: £14

I believe it’s one of their most popular shades, and I have to say that I am a new convert to this lipstick. The colour was just what I was looking for; nude without that ‘foundation lip’ effect that Snog Marry Avoid girls seem to like. It was subtle yet still made my face look more ‘done up’ than if I’d just gone for a gloss or (shudder) au naturale.

MacReviewBeforeBefore

MacReviewAfterAfter

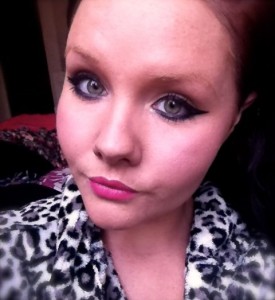
These pictures make it look slightly more pink than it actually is in real life, but hopefully conveys the sheen and natural shade the lipstick provides.

It also lasted really well, felt really moisturizing on my lips and smelt lovely too (I would say it has a cocoa butter-y smell; this is probably completely wrong and I would waft it under Lauren’s nose for a second opinion but I don’t want to risk it touching her nostril). It’s become a staple of my makeup bag in just the couple of weeks since I’ve owned it, seeing as it’s so wearable on an everyday basis. I’m also already counting down the days til payday so I can justify my next MAC purchase – for blogging review purposes, of course…